


A modern take on traditional scrapbooking, combining digital design, storytelling, and creative layouts to preserve everyday memories.
Growing up, I didn’t have the privilege of owning many scrapbook materials. They were expensive, and the only time I had one was for an English class where we were asked to keep a diary or log of our day. Now that we are in the digital age, I’ve realized how much easier and more accessible it is to create something like this. Looking back, I was already drawn to visual storytelling, but it just wasn’t something I could fully explore at the time.
As I’ve grown professionally, I’ve come to see how important it is not only to design well but also to document thoughtfully and communicate clearly. My work now spans design, planning, and coordination across different disciplines. This tutorial is a reflection of that. It is a creative and strategic way to preserve stories, organize ideas, and express a vision using accessible tools.
Step 1: Gather your Photos
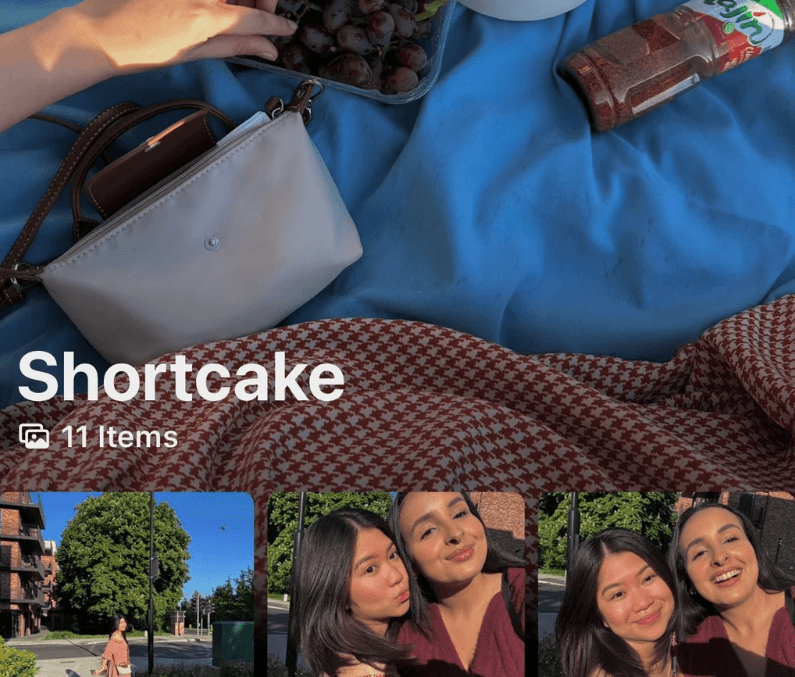
Start by selecting 3 to 4 photos that you want to highlight. Think of this as building the foundation of your story. Whether it's from a trip, a day out, or a random memory, focus on images that speak to the mood or message you want to convey.
This is also a great time to create a color palette. You can extract tones directly from your photos to build harmony across your layout. These colors can guide your design decisions, or even inspire little extras like hand-drawn doodles or shapes that match the tone of the story you’re telling.
Step 2: Look for Inspiration
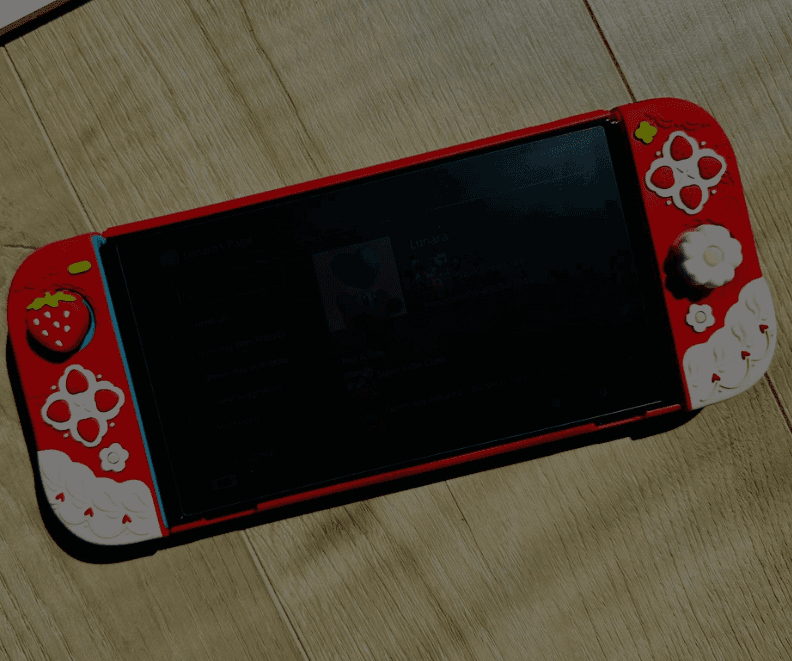
Inspiration doesn’t always come from the screen. Sometimes the best ideas are right around you. Take a moment to look around your space. It might be a patterned pillow, a page from a book, or a favorite object. Snap a few photos of anything that sparks a feeling.
If you prefer digital sources, Pinterest is a great place to find scrapbook elements, textures, and layout references. Try searching for terms like "digital collage," "scrapbook aesthetic," or "journal pages" to gather visual ideas. Remember, inspiration is not about copying. It is about observing, collecting, and finding new ways to express what speaks to you.
“Every new idea is just a mashup or a remix of one or more previous ideas.”
— Austin Kleon, Steal Like an Artist
This step helps you build a visual direction before you even start designing. One that reflects your style, your story, and your mood.
Step 3: Set up Your Canvas
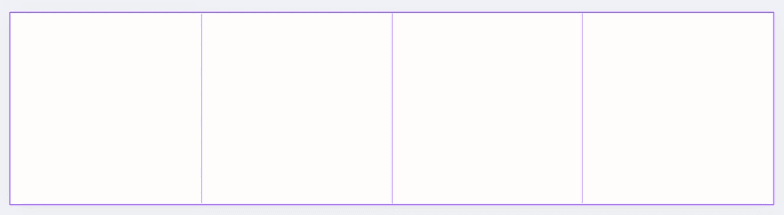
Open Canva or any design software you’re comfortable with, such as Adobe, Procreate, or Affinity. For this tutorial, we’ll be using Canva because it’s simple and accessible. Create a new document with a canvas size of 4320 by 1080 pixels. This wide format works well for digital scrapbooks and swipeable layouts. Add 4 column guides with 0 gap to help organize your content. Then, upload your selected photos and references so everything is ready to go.
Step 4: Layer Your Layout
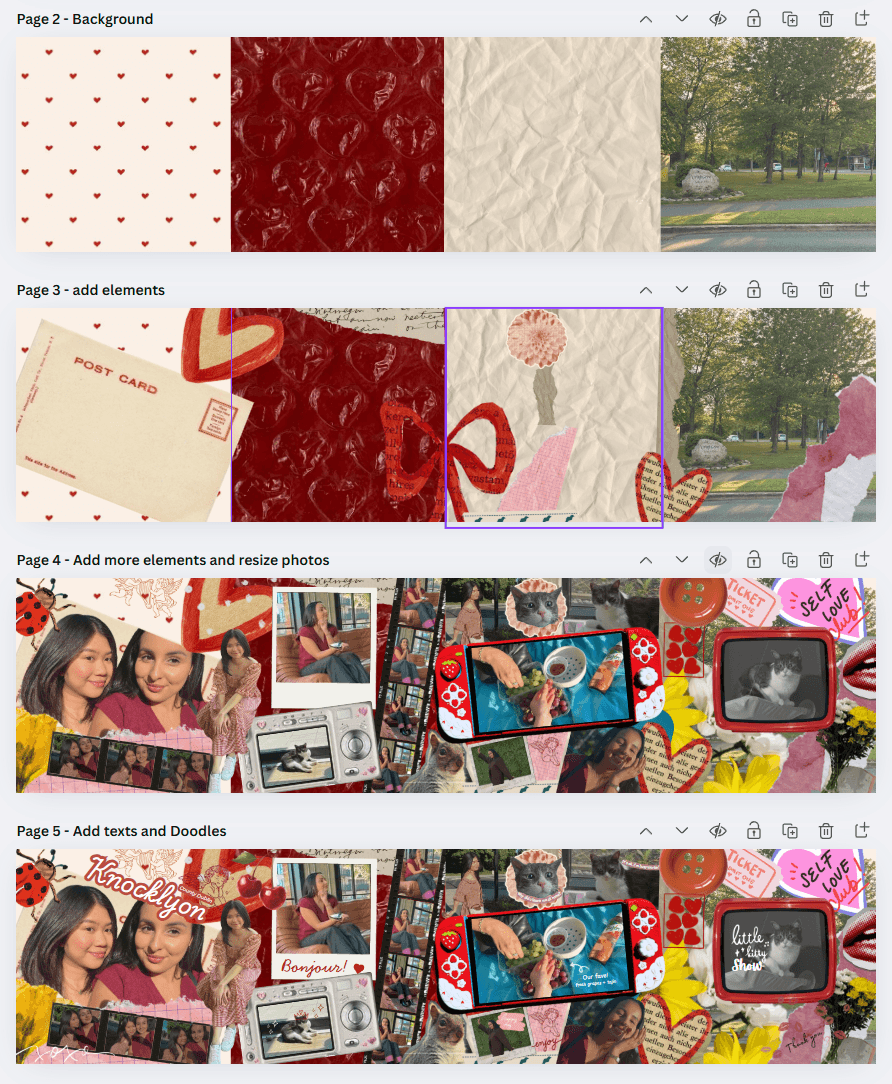
Begin with your background. Choose a color, pattern, or texture that sets the tone. Add decorative elements like stickers or shapes to build interest. Then place your photos, focusing on four to five that tell the story best. Arrange them to create a natural flow. Next, bring in supporting elements to frame or highlight your images. Finally, add text or doodles to give your page a personal touch.
Step 5: Slice and Share
Once you're happy with your layout, download your design as a high-resolution PNG or JPG. To post it on Instagram as a swipeable carousel, open the Grid Post app. Select Grids Photo Crop, then choose Panorama Crop, and set it to 4 slices. Note: The app will automatically divide your scrapbook into even panels

Try It Yourself: You can start from scratch or use the free template included below. Use it as a base, build on top of it, or adapt it to fit your own story and style. Make it you!
Suggested
Continue Reading
More articles you may find useful, carefully selected from our journal


